Training guide
Bouldering Body Position: How to Use Your Hips, Feet, and Straight Arms
Use hip position, deliberate feet, straight-arm hangs, and stable movement tests to solve bouldering sequences with less wasted effort.
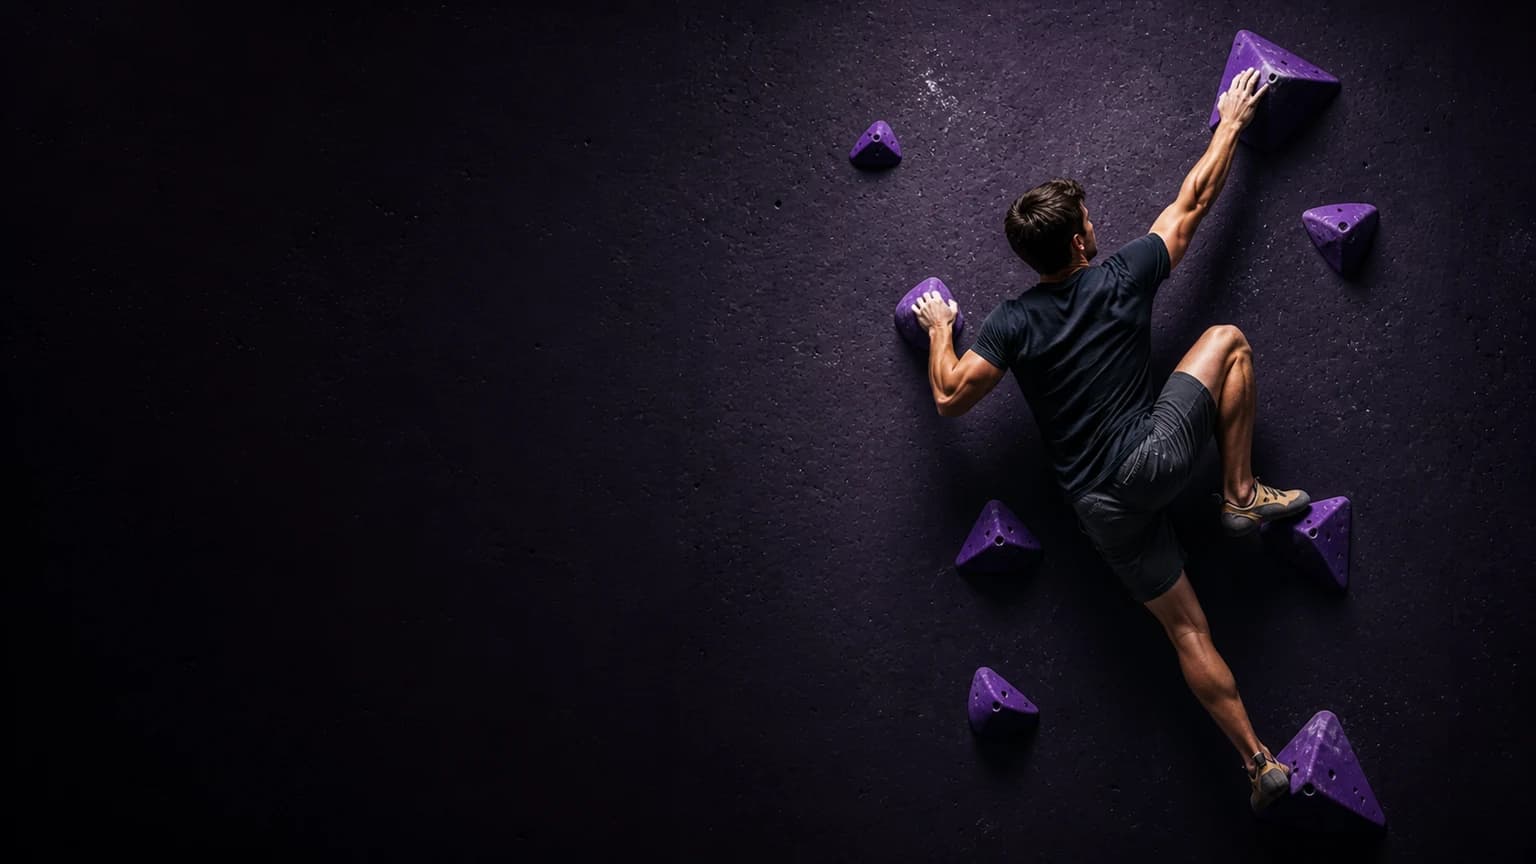
Bouldering AI: Coach helps you film, compare, and log body-position problems. The fastest way to climb a sequence more efficiently is usually not to pull harder. Place your feet precisely, move your hips toward the next useful position, keep your arms long when the wall allows it, and test each change on comparable attempts.
Your goal is not to copy a fixed “perfect” posture. Your goal is to create enough balance and reach for the next controlled movement.
The four checkpoints
| Checkpoint | What to look for | Useful correction |
|---|---|---|
| Quiet foot | Your foot stays on the hold while your body shifts | Place the toe deliberately before moving your hips |
| Hip direction | Your pelvis points toward the next movement | Rotate the nearer hip toward the target |
| Arm length | Your elbow stays relatively open during a pause | Let your skeleton support you before pulling |
| Centre of mass | Your body moves over the foothold or handhold | Shift your hips before adding force |
Check these in order. If your foot slips or wanders, your hip movement may only compensate for poor contact. If your hips stay behind your feet, you may bend your arms to avoid moving your centre of mass. Treat an unseen detail as unknown rather than guessing from one frame.
How hips, feet, and arms work together
Start with the feet. Use the smallest reliable part of the foothold, usually the inside or outside edge of the climbing shoe, and place it before the hand movement begins. A quiet foot gives you a stable pivot. A swinging or repeatedly readjusted foot forces your hands to carry balance that your lower body should provide.
Next, rotate your hips toward the direction of travel. A square position can work on a straight-on wall, but many moves become easier when you turn one hip toward the next hold. This reduces the distance your shoulders must travel and can let you reach with less pulling. Keep the rotation connected to your feet. Do not twist your knee aggressively while the shoe stays fixed in a position that feels unstable.
Use straight arms during pauses and low-force transitions, not as a rule for every move. An open elbow can reduce unnecessary muscular effort when your skeleton sits beneath the hold. Keep enough engagement to control your shoulder and avoid dropping into a painful or unstable position. On steep terrain, you may need bent arms to keep your body close to the wall. The useful question is whether you bend them because the move requires it or because your hips have not moved into position.
Move your centre of mass before you increase force. On a side pull, shift away from or beneath the hold according to the hold’s direction. On a reach, bring your hips over the supporting foot, then extend. On a compression move, create pressure between opposing surfaces instead of trying to hang from your arms alone.
A repeatable practice sequence
- Choose one move. Pick a sequence where you can identify the footholds, target hold, and main point of failure.
- Film from the side or front corner. Keep both feet, the relevant hands, and the next target in frame.
- Watch at normal speed. Identify the earliest change that predicts the failed attempt.
- Test the feet first. Repeat the move with a deliberate, quiet placement and no other planned change.
- Test hip rotation. Keep the foot placement similar and turn the hip that opens the next reach.
- Test arm length. During the stable phase, allow the arm to open while maintaining shoulder control.
- Compare attempts. Record one visible fact, such as “left foot shifted before the reach.”
- Stop safely. End the attempt if you lose control, land unpredictably, or feel pain, dizziness, numbness, or unsafe pressure.
Topic-specific mistakes
Pulling before placing the foot
A climber often grabs harder while the foot still searches for purchase. That increases upper-body tension and makes the eventual hip shift abrupt. Place the foot first, pause briefly, then move the pelvis.
Keeping the hips square
A square pelvis can force the shoulders farther from the target. Turn the hip that faces the next hold, but keep the knee and shoe aligned well enough to maintain control.
Locking both elbows through every pause
Straight arms can save effort, but rigid elbows do not automatically create good technique. If your shoulder loses control or the hold requires active tension, use the amount of bend the position demands.
Changing the whole sequence after one failure
A single fall does not prove that the beta is wrong. Change the earliest identifiable variable, then repeat the move under similar conditions. That comparison tells you more than a completely different attempt.
Rules, grades, and safety limits
Competition rules can define how a boulder starts, which holds count, how an attempt is recorded, and what constitutes a successful finish. The current USA Climbing Rulebook 2025–2026 governs USA Climbing events, not every gym or competition. A federation, promotion, age group, school, or event can use different requirements.
The UIAA Climbing Grades document explains grading systems and their limits. A grade converter can organize approximate relationships between systems, but it cannot determine whether a specific climber will complete a problem, whether a route setter intended a particular sequence, or whether an attempt meets an event’s current judging standard.
Use the dedicated bouldering grade converter to compare grade inputs. It cannot replace the event rulebook, an in-person coach, medical advice, or your own safety judgment.
Use Bouldering AI: Coach for one next action
After choosing your checkpoint, open Bouldering AI: Coach and review one representative video. Mark the earliest visible foot, hip, or arm-position change, then test one cue on the next comparable attempt.
FAQs
Can one video prove that my technique is correct?
No. Video can show visible position and timing from one angle. It cannot measure how stable you felt, diagnose an injury, or reveal what happened outside the frame.
Should I always climb with straight arms?
No. Use open elbows when the position supports you, and bend your arms when the terrain or movement requires active control.
What if I want to change training load or body weight?
Get qualified in-person guidance. Stop if you feel pain or other warning symptoms, and consult an appropriate medical professional before continuing.