
Technique
Toe Hook Climbing: Placement, Tension, and Release
Learn when to use a toe hook, how to place the top of your shoe, build body tension, and release the hook without losing control.
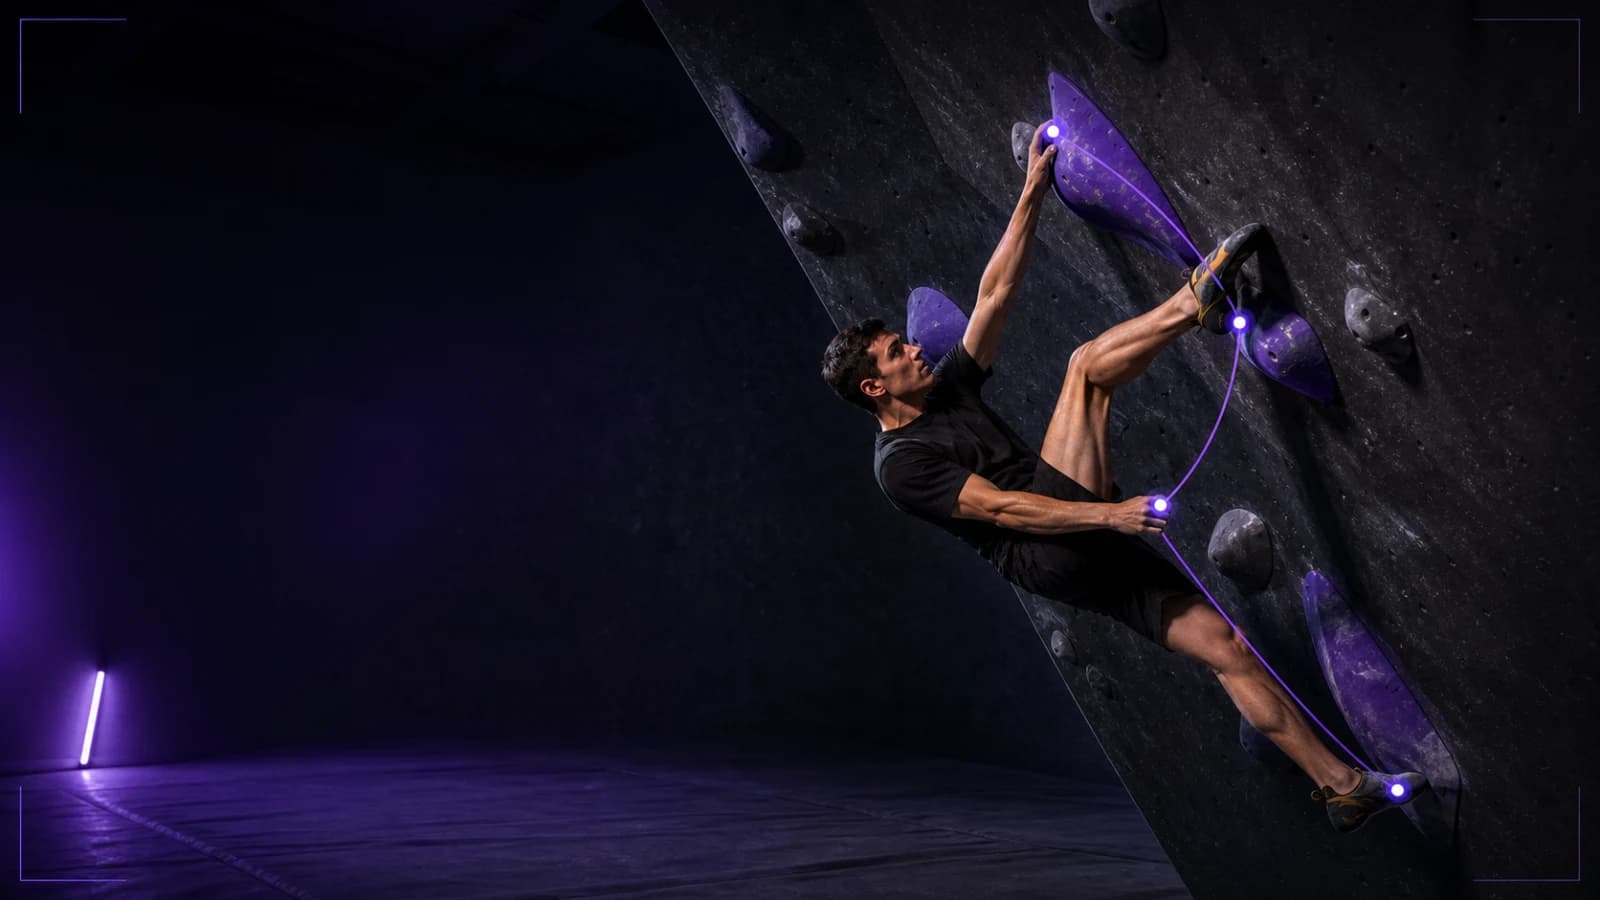
A toe hook uses the rubber on top of your climbing shoe to pull against the underside or back of a hold. It works as an opposing force: while your hands or other foot pull one way, the hooked toe pulls back and helps stop your hips from swinging away. Place the toe deliberately, keep the ankle flexed, build tension before you move, and unweight the hook before you release it.
Practise low on an indoor wall with a clear padded landing. Toe hooks can load the ankle, shin, and knee in unfamiliar positions. Stop if you feel pain, and ask a qualified coach to check any position you cannot control.
When a toe hook helps
Look for a lip, volume, rail, or large hold with space behind it. A toe hook often helps when you move across a roof, resist a barn-door swing, hold your hips near the wall, or keep both hands available during a reach.
Before you hook, name the job. If the toe must stop your hips rotating left, it needs a surface and pull direction that oppose that rotation. Hooking a nearby hold because it looks possible can add effort without adding stability.
| Checkpoint | Useful position | Common miss |
|---|---|---|
| Contact | Top rubber presses behind a lip | Laces or soft tongue take the load |
| Ankle | Toes pull toward the shin | Foot relaxes and slides out |
| Knee | Follows the hip and foot | Twists inward under load |
| Hips | Stay connected to the opposing points | Drift away before the reach |
| Release | Hook is unweighted first | Foot snaps free under tension |
Place the top rubber, not the laces
Lift the foot far enough that the reinforced upper rubber meets the hold. Slide or place the toe behind the usable edge, then pull the toes toward your shin. That active ankle keeps rubber on the surface.
Do not bury the whole foot blindly. You need enough contact to pull without trapping the shoe. On a large volume, a slightly angled placement may match the surface better than a straight-on hook.
Practise five quiet placements without moving your hands: touch, flex, pull lightly, unweight, and remove. If the laces feel crushed or the shoe folds, change the contact point.
Build opposition through the whole body
A toe hook becomes useful when it connects to another point. Keep pressure through the other foot or an opposing hand, brace the trunk, and draw the hooked knee toward the line of pull. Increase tension gradually before the reaching hand moves.
If your hips swing anyway, review the direction rather than pulling harder. The hook may sit too close to your center line, or your other foot may stop pushing as you reach.
On steep terrain, think in sequence: place the hook, confirm the ankle, bring the hips into the stable zone, then move the hand. Rushing directly from placement to reach often makes the hook feel weaker than it is.
Keep the knee aligned
Move the hip, knee, and foot as one system. A strong toe pull with the knee collapsing inward can turn a useful hold into an uncomfortable joint position. Reduce the angle, choose a different hook, or use another foothold if you cannot keep the leg organized.
The UIAA safety resources provide current climbing-safety material, but no written guide can judge the load in your individual position. Use controlled practice and qualified coaching when you add unfamiliar hooks.
Release without a swing
Plan the exit before the next hand move. Transfer weight to your hands and other foot, relax the pull through the shin, then lift the toe clear. If the foot releases while fully loaded, your hips may swing and change the fall.
On a roof, the next foothold matters as much as the release. Know where the foot goes after the hook so it does not hang loose while the rest of your body moves.
Diagnose four common failures
The toe slides immediately. Move the top rubber deeper behind the lip and flex the ankle before you pull.
The hook stays but feels useless. Check whether it actually opposes your hip movement. Change the pull direction or keep pressure through the other foot.
The shin tires before the move. Use only the tension you need and complete the hand movement. A toe hook is an anchor, not an isometric endurance test.
The foot pops during release. Unweight it earlier and decide the next placement before removing it.
A short practice block
- Warm up on easy climbing and controlled descents.
- Choose a low problem with a large positive toe-hook surface.
- Place and remove the hook five times without moving a hand.
- Hold light tension for three breaths.
- Make three attempts at one hand move.
- Review the clip and change one checkpoint.
- Finish before placement becomes careless.
For related footwork, compare the heel-hook guide and overhang guide.