Training
Bouldering Warm-Up Routine Before Your First Hard Attempt
Use a layered bouldering warm-up to raise effort gradually, rehearse key moves, and judge your readiness for a hard attempt.
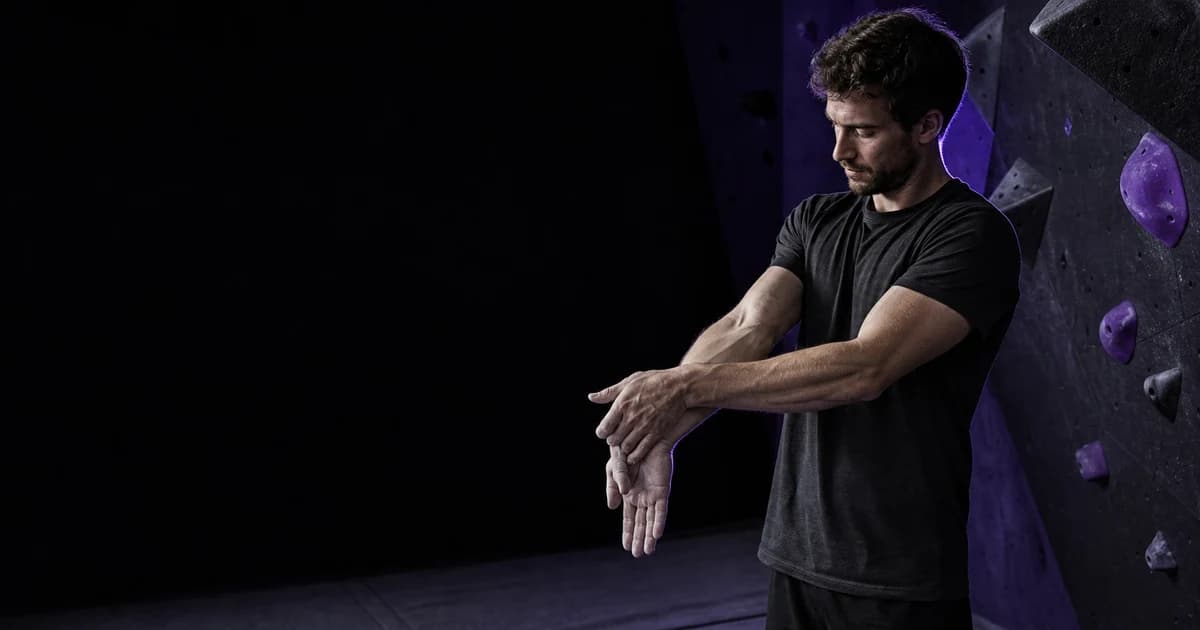
Warm up for bouldering by progressing from comfortable whole-body movement to easy climbing, harder preparation moves, and a short rehearsal that matches your project. Your first hard attempt should come after your movement looks controlled and the relevant holds, wall angle, and body positions no longer feel like a sudden jump in demand. The goal is readiness, not fatigue.
A useful warm-up answers three practical questions:
- Can you move through comfortable ranges without pain or instability?
- Can you place your hands and feet accurately on easy terrain?
- Can you reproduce the main positions or actions required by the hard problem?
Your answers may change from session to session. Sleep, fatigue, skin condition, previous training, stress, room temperature, and minor discomfort can all affect the amount of preparation you need. Treat the routine below as a repeatable decision process, not a fixed countdown.
Define the demands before you start
Look at the problem you plan to attempt before choosing warm-up climbs. Identify the demands that will matter most:
- Wall angle: slab, vertical, steep, roof, or mixed
- Hold type: jugs, edges, slopers, pinches, pockets, or volumes
- Footwork: smearing, edging, heel hooks, toe hooks, or foot swaps
- Movement pattern: static positions, compression, coordination, lock-offs, or dynamic moves
- Landing: fall direction, pad coverage, nearby volumes, and other climbers
- Peak demand: the move most likely to require high finger force, shoulder tension, hip mobility, or precise timing
If you cannot describe the likely sequence, use the process in how to read a bouldering problem before you begin. You do not need a perfect beta prediction. You need enough information to avoid warming up only on comfortable vertical jugs before stepping directly onto a steep problem with small edges and a hard heel hook.
Use a layered warm-up
Move through the following layers in order. The suggested amounts are starting points, not medical prescriptions. Extend a layer when your movement remains hesitant or imprecise. Shorten it when you arrive already warm and the early checks look controlled.
| Layer | Practical task | What to observe | Decision |
|---|---|---|---|
| General movement | Walk, cycle gently, or move continuously for several minutes | Breathing, general temperature, coordination | Continue when you feel warmer without meaningful fatigue |
| Controlled mobility | Move shoulders, elbows, wrists, hips, knees, and ankles through comfortable ranges | Restriction, pain, instability, side-to-side differences | Continue only through comfortable ranges |
| Easy climbing | Complete several problems well below your limit | Foot accuracy, grip changes, balance, quiet movement | Progress when easy climbing looks and feels controlled |
| Progressive loading | Climb increasingly demanding problems or selected moves | Finger response, shoulder control, tension, recovery | Repeat or reduce difficulty if control breaks down |
| Specific rehearsal | Practise the angle, holds, and movement pattern of the project | Timing, body position, accuracy, confidence in the landing | Start hard attempts when the rehearsal is repeatable |
1. Begin with comfortable whole-body movement
Spend a few minutes moving continuously at an easy pace. Walking around the gym, using a stationary bike, or combining relaxed steps with arm movements can work. Choose an activity that raises your effort gradually without tiring your forearms or legs.
You are not testing fitness here. You are changing state from resting to moving. You should still be able to speak comfortably and begin climbing without needing a recovery break.
Observe your condition while you move. General stiffness that eases with comfortable motion differs from sharp pain, increasing pain, dizziness, or a sense that a joint is unstable. Do not use a warm-up to prove that you can climb through warning signs.
2. Explore comfortable joint movement
Move each area you expect to load:
- Raise, lower, and rotate your shoulders without forcing the range.
- Bend and straighten your elbows.
- Open and close your hands, then move your wrists gently.
- Rotate your hips and practise controlled high steps.
- Bend your knees and check comfortable squat positions.
- Move your ankles through the ranges needed for edging and smearing.
Keep these movements controlled. Avoid forcing a position simply because your planned beta requires it. If a high step only works when you push into pain, change the beta or choose another problem.
This layer provides information that video cannot. A recording may show that one hip opens less than the other, but it cannot establish whether you feel stiffness, fear, fatigue, resistance from clothing, or pain. Only you can report those sensations, and persistent or concerning symptoms require advice from an appropriate healthcare professional.
3. Climb easy problems with deliberate technique
Choose problems that sit well below your normal working level. Start on positive holds and secure footholds. Climb slowly enough to notice where your limbs go, but do not turn every move into an exaggerated drill.
Check whether you can:
- Place each foot accurately on the first attempt.
- Transfer weight before releasing a hand.
- Change grips without unnecessary readjustment.
- Keep your shoulders controlled instead of hanging passively.
- Breathe through the sequence.
- Downclimb or finish without feeling unexpectedly taxed.
If your feet land noisily or require repeated corrections, use one or two bouldering footwork drills on easy terrain. Treat imprecision as a reason to gather more information, not as an automatic reason to climb harder.
Complete enough easy climbing to establish a pattern. One smooth problem can happen by chance. Several controlled climbs provide a better readiness signal.
4. Increase demand one variable at a time
Make each progression understandable. You might increase the grade while keeping the wall angle familiar, then introduce steeper terrain on positive holds. You might rehearse a smaller edge with both feet secure before using a similar edge during a long reach.
Avoid increasing grade, steepness, hold difficulty, and movement speed in one step. If the next climb goes poorly, you will not know which change caused the loss of control.
Use short rests between preparation climbs. Watch whether your breathing settles and your forearms recover. The warm-up should prepare you to produce hard movement. It should not become a volume session that consumes the quality attempts you wanted to make.
For steep projects, select easy moves that require body tension and deliberate foot pressure. How to climb overhang boulders explains how hip position, foot engagement, and efficient movement interact on this terrain.
5. Rehearse the project’s specific demand
Your final layer should resemble the project without copying its full difficulty. Examples include:
- Holding a similar edge with better feet
- Entering a heel hook on an easier angle
- Practising a controlled flag before a long reach
- Rehearsing the take-off pattern for a dynamic move on larger holds
- Linking two steep moves without completing a full hard problem
- Testing the project’s opening positions without committing to the crux
Review flagging in climbing or how to heel hook in bouldering when one of those techniques controls the sequence.
Stop the rehearsal while it still looks purposeful. Repeating a preparation move until your grip fails defeats the purpose.
Use observation, decision, and revision
Apply the same three-step loop throughout the warm-up.
Observe
Record facts you can see or reliably notice:
- The right foot landed on the intended part of the hold.
- The left foot cut loose during both steep rehearsals.
- The hand required two readjustments.
- The hips moved away from the wall before the reach.
- The second attempt used a shorter swing than the first.
- The landing zone contains a gap or obstruction.
Keep sensations separate:
- Your fingers feel stiff.
- Your shoulder feels painful.
- Your breathing feels unusually laboured.
- You feel hesitant about the fall.
- Your forearms feel more fatigued than expected.
Both categories matter, but they answer different questions. Video can support visible movement analysis. It cannot determine pain severity, tissue condition, recovery status, internal effort, fear, or your intended beta unless you provide that context.
Decide
Choose one of four actions:
| Evidence | Action |
|---|---|
| Movement is accurate, repeatable, and comfortable | Progress one step |
| Movement improves but remains inconsistent | Repeat at the same demand |
| Technique deteriorates or fatigue accumulates | Rest, reduce the demand, or revise the warm-up |
| Pain, dizziness, instability, or an unsafe landing appears | Stop the attempt and address the safety issue |
Do not let the planned schedule overrule the evidence. Repeating an easier preparation move is more useful than forcing a hard attempt because you expected to begin at a particular minute.
Revise
Change one variable after an unsuccessful rehearsal:
- Use a larger handhold.
- Improve the foothold.
- Reduce the wall angle.
- Practise only the entry position.
- Slow the movement.
- Add rest.
- Change the beta.
- End the session’s hard-attempt phase.
One-variable revisions make the next observation easier to interpret. The projecting strategy guide provides a broader method for changing beta and organising attempts. The methodology page explains why comparable observations provide more useful evidence than isolated clips.
Worked example: preparing for a steep heel-hook project
Suppose your project begins on a steep wall. The third move requires a high right heel hook, tension through the right leg, and a controlled reach to an edge.
Start with general movement and comfortable hip, knee, ankle, shoulder, and wrist motion. Then climb three easy problems. During the first, your feet readjust several times. During the next two, your placements become accurate and your breathing stays controlled.
Move to an easy overhang with large holds. Climb two short sequences while keeping both feet engaged. Your right foot cuts loose during the first sequence but stays on during the second. Repeat once after a rest. If the third attempt also stays controlled, introduce an easier heel hook.
On the heel-hook rehearsal, observe that your heel contacts the hold but your hips remain low and swing away before the reach. Do not conclude from appearance alone that your hamstring is weak or your hip is inflexible. The clip does not establish either explanation.
Revise one variable. Use a lower heel position and focus on moving your hips before reaching. If that produces a stable position twice without pain or unexpected strain, inspect the project’s opening holds and landing. You can now consider a first hard attempt.
If the heel hook causes pain, the decision changes. Stop loading that position. Do not use a successful-looking video frame to dismiss what you feel.
Film a useful warm-up rehearsal
You do not need to record the entire routine. Film one or two specific rehearsals when visual review could change your next decision.
Place the camera outside the landing and walking areas. Capture your whole body, the relevant holds, and the wall angle. A side view often shows hip distance and swing, while a more frontal view can show foot placement and lateral movement. Use the same angle for comparable attempts when possible.
Review the clip for one visible question:
- Did the foot contact the intended part of the hold?
- Did the hips move before or after the hand?
- When did the foot cut loose?
- Did the swing become smaller after the correction?
- Did the reaching arm begin from a stable shoulder position?
Avoid vague judgments such as “my technique looked bad.” Select one event, revise one action, and film the next comparable attempt.
After completing the earlier warm-up layers, record one specific rehearsal and open Bouldering AI to review the climbing video for technique feedback. Choose one visible correction from that review and apply it to your next comparable rehearsal before deciding whether to start hard attempts.
A camera can miss holds, obscure foot contact, distort the wall angle, or exclude the landing. It also cannot establish grip force, pain, fatigue, confidence, intent, or what happened outside the frame. Combine video with your direct observations instead of treating it as a complete verdict.
Common warm-up errors
Treating the first easy climb as proof of readiness
A single successful climb does not show that you can reproduce precise movement. Look for a short pattern of controlled climbing.
Jumping directly from jugs to the project
A large increase in hold difficulty, steepness, and movement intensity leaves little room to identify what is not ready. Add an intermediate step that resembles the project.
Turning the warm-up into endurance training
Too many climbs and too little rest can reduce the quality of your hard attempts. End each layer once it has answered its readiness question.
Copying someone else’s fixed routine
Another climber’s number of problems, grades, or exercises may not match your body, session goal, or current condition. Use the same decision process while adjusting the amount.
Ignoring the landing until the hard attempt
Inspect the fall zone before rehearsing committed movement. Follow the facility’s rules, keep personal items and recording equipment clear, and correct pad gaps or obstructions where applicable.
Using video to explain internal causes
A clip can show a dropped hip or missed foothold. It cannot prove weakness, injury, fear, poor recovery, or lack of effort. Describe visible events precisely and keep unsupported explanations out of the review.
Trying to warm through pain
Pain is not a progression target. Stop the provoking movement and seek appropriate professional guidance when symptoms concern you. A climbing app, article, video, or remote technique review cannot diagnose an injury or replace a qualified healthcare professional or coach.
Final pre-attempt checklist
Before your first hard attempt, confirm:
- I inspected the problem, landing, and likely fall direction.
- I identified the wall angle, hold types, and hardest movement pattern.
- I completed comfortable whole-body movement.
- I checked the relevant joints through comfortable ranges.
- I climbed several easy problems with controlled feet and hands.
- I increased difficulty gradually instead of changing every demand at once.
- I rehearsed the project’s main movement pattern at a manageable intensity.
- My preparation improved or remained repeatable without accumulating excessive fatigue.
- I separated visible movement evidence from sensations and unsupported explanations.
- I chose one correction rather than several competing cues.
- I rested enough to make the first working attempt purposeful.
- I have no pain, dizziness, instability, or unresolved landing hazard telling me to stop.
If several boxes remain unchecked, revise the warm-up or delay the hard attempt. If the movement is controlled, the specific rehearsal is repeatable, and the safety checks are clear, take your first working attempt and observe what actually happens.